We spoke to Luke Slater, our in-house beer expert to find out how cask beer is made. Here you will find out how the Brewing Process or making of beer is made, by breaking it down into nine easy to understand steps.
There are some many different of varieties of beers out in the world ranging from Cask Ale, Lager and Craft Beer, all of these styles of beers have one thing in common and that is that they are made in a Brewery, however the process for each one can be different, but we are most focused on how the traditional Cask Ale is produced.
Step 1: Malting
The first part of the Brewing Process is a method called Malting, this is where barley which grows over thousands of crops across the UK is converted so it can be used for brewing beer or even distilling whiskies.
There are so many different types of malt which can be found in the UK today, and you’ll probably realise when you drink certain types of beers they have to be brewed with specific malts. Low Colour Maris Otter or Extra Pale Maris Otter Malt is used to create the classical light Pale Ales. A golden ale uses a malt called Caragold, and this type of malt brings subtle flavours of toffee and fruit. The two other important malts that we have to be aware of are Roasted Malt & Chocolate Malt, and these two types of malt are what used to create your chocolatey stouts and porters, the colour of roasted malt determines the beer is dark coloured.
Step 2: Mashing
The next step is a term called Mashing, and the easiest way to describe this is just imagine now you’re making a cup of tea and you’re stirring the teabag in a cup and your letting all those calming flavours escape into your cup, well mashing in a brewing process works the same.
The malt has to travel through a piece of machinery called a hopper, this is how the malt travels from the hopper to a huge mash tun. In order to mash in your malt, you have to use a consistent amount of hot boiling water, however it’s important that you don’t mash in the malt too quickly otherwise it will destroy the flavouring of the beer, to understand what the consistency of the malt and water should be you just need to think of thick porridge.
After the final bit of malt has hopped its way into the mash tun, it’s vital to leave the mash tun for a good couple of hours so that the sugars in the malt can dissolve.
Step 3: Sparging
Then, the next step involves a process called sparging which is a mechanical arm that sits at the top of the mash tun and sprays water onto the malt just to make sure that all the remaining sugar has been extracted.
Step 4: Straining (Run Off)
Next, this part of the process involves the transportation of the liquor from the mash tun into a gigantic vessel which is called a copper tank. The technical name for the liquor which is running off from the mash tun into the new tank is called wort. It’s called wort because this is the liquid that is extracted from the mashing process, you’ll probably notice when the wort is straining the colour may determine if it’s a light beer or a dark beer.
Step 5: Hop O’ Clock
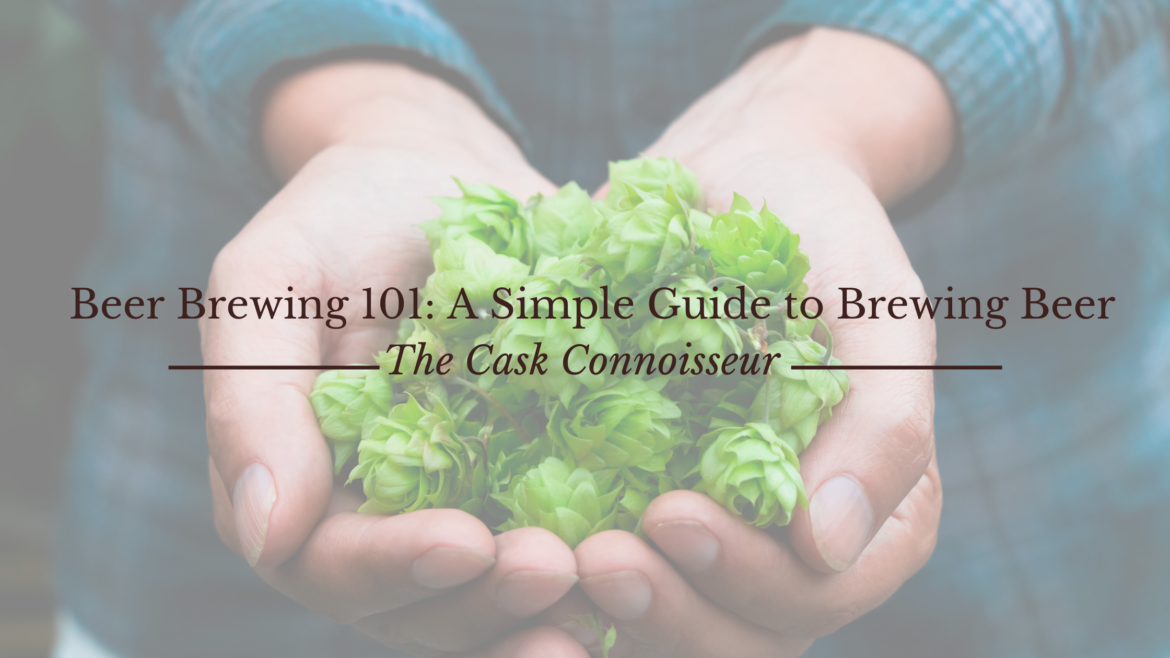
Hops are green styled flowers that are used to build the characteristic of the beer that is being produced. Due to the amount of different hops that are used in the brewing world, each hop has to be used in conjunction with the style of beer that is being created.
The most common types of hops that are today are Citra, Fuggles, Goldings & Amarillo, there are so many more but these are the popular hops. Just to give you another understanding of these hops that have been mentioned, if you take Citra for example, this hop is predominantly used to create citrusy beers.
Step 6: Boiling
This step involves adding the chosen hops for the brew, however just like the mashing process, timing is key. The reason for this is that the hops have to be added into the copper at specific time points, this is so that the flavouring of each hop can be extracted into the wort.
Once all the hops have been added into the copper, the final step before fermenting is to let the wort cool down before it can be transferred into the next tank.
Step 7: Fermenting
You’re now just a couple of steps away before you can actually take a sip of your beautiful brewed beer, before you can do that the beer has to go through a stage of fermenting.
Fermenting basically involves adding yeast to the wort and the sugars are then basically converted into alcohol. Furthermore, the yeast when mixed with the wort also produces the chemical Carbon Dioxide, the Carbon Dioxide determines what the alcohol content will be at the end of the brew, alcohol content refers to ABV (Alcohol By Volume).
Fermentation is a steady process and sometimes depending on the weather can also determine how long the process will take, if it’s hot fermentation will take longer and if it’s colder it won’t take as long.
Step 8: Racking
Now, this is the exciting part, once all of the necessary checks have been completed, the final task to complete the end of the Brewing Process is to rack your finished beer into the Firkin Casks.
Racking involves transporting the beer from the fermenting vessel into the barrel which then can be stored in a cold room and then is ready to be delivered to the cellar to be put on sale.
When racking into the barrel, you have to mix a small amount of Isinglass finings to help with clarification of the beer. Finings are used to deliver a bright coloured beer which is what sells it to the consumers. On the other hand, there are some beers out in the world which don’t contain finings, these are typically Unfined ales.
Step 9: Drink Away
It’s important for many brewers to actually try there finished product, the reason for this is to make sure that the beer is served to Perfection, all brewers will keep a record of 4 important checks that have to be completed before selling there beer to the public and that is Clarity, Aroma, Taste and Aftertaste.
Once those checks are completed, it’s now time to enjoy selling your perfect beer to the general public.


